I want to thank Bean, Jim Chicha and Salrimya for answering my questions about the editor. Without them answering my questions that were so basic the tutorials didn't cover them, I would not have been able to make the map.
Special thanks to Badasp for giving me a lot of ideas that allowed my map to become much more open and gave it much more potential. The tunnel in the mid wall, the openings at the top that lead to the dark hall, the rail at the top of the side walls (which led me to the idea of placing rails across the whole map to jump across) and other things were all Badasp's ideas.
Thanks to Acid, Bulletwitch and various other people for playing around in the map helping me beta test it, giving me ideas and giving me constructive criticism. Acid's help led to the wildcard being placed in the pit, the name change of the map and other things I can't remember to list. Bulletwitch's help led to the colored lights on the ceiling. It was Rahuah's idea to add jump pads to take you to the dark hall openings at the top to allow for cutting off flag carriers that go up there. Even Voidnull gave me a good idea about lowering the mid wall. Good ol', lovable, never controversial Voidnull.
A note to Jim: My map had a spawn issue because I forgot to designate a team for one of the spawns, so the version on the private server is not the final verson. I'll give you the fixed version tomorrow. My internet connection has been down almost all day, so I didn't get the chance to catch you. Hopefully you'll be on early tomorrow evening and we can get the map up on the main server.
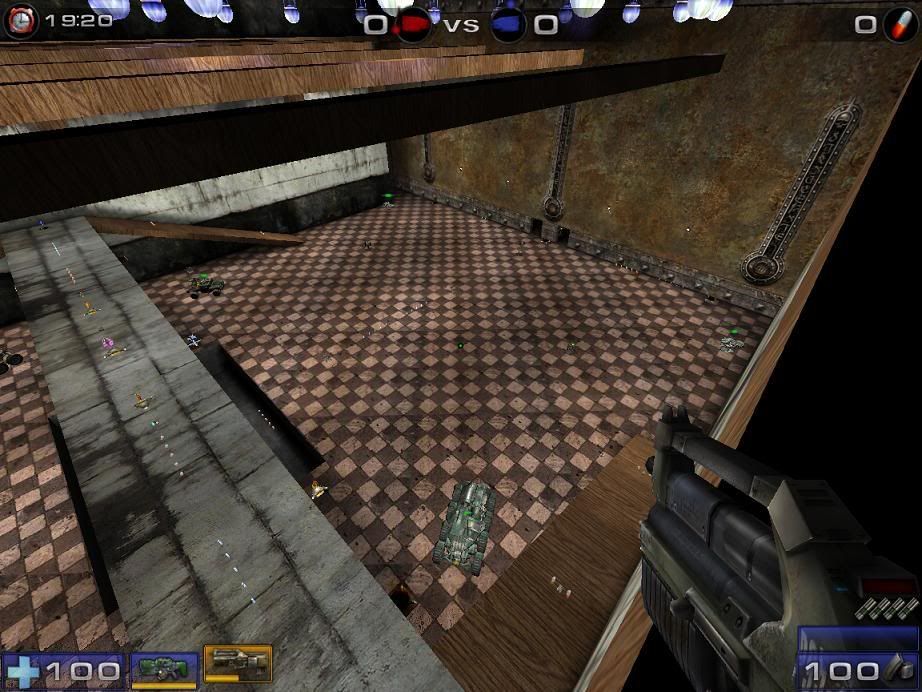
Here are some screens:
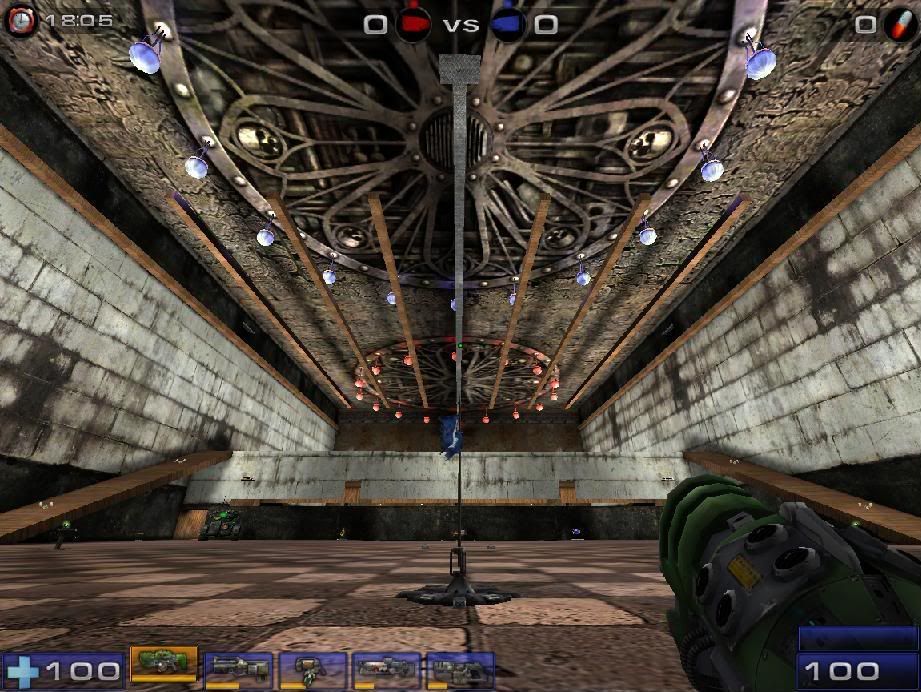
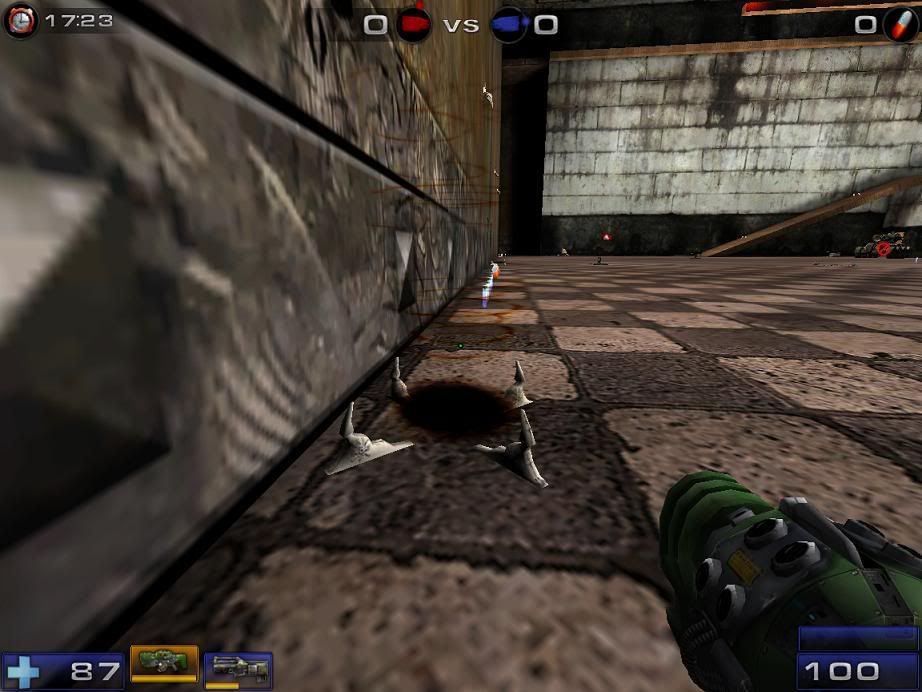
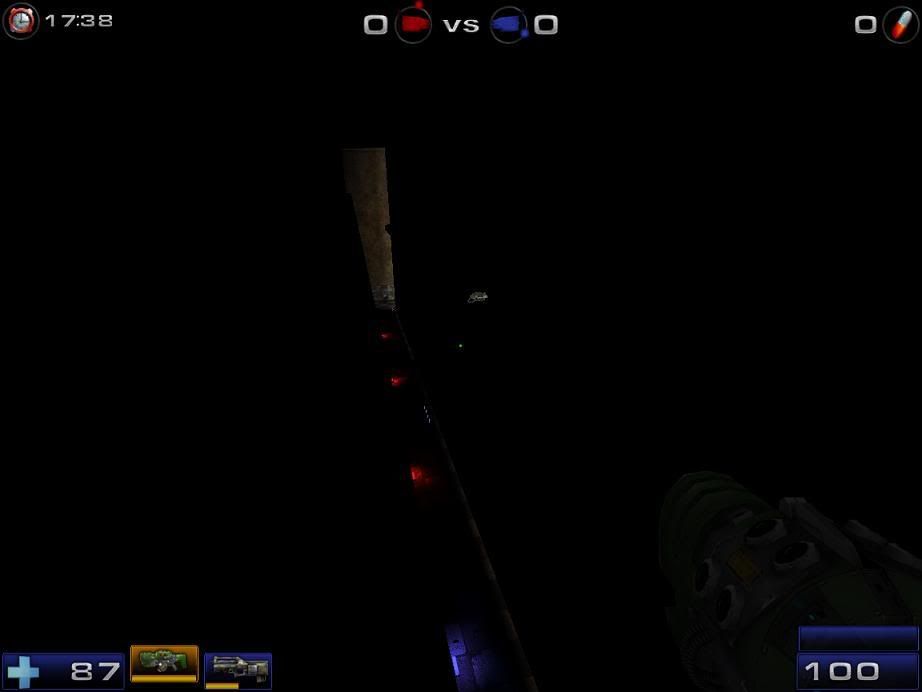
The rails at the top of this screen can be reached by a double jump or a dodge jump. They allow a flag carrier to lose chasers who may or may not be able to make the jumps from rail to rail.
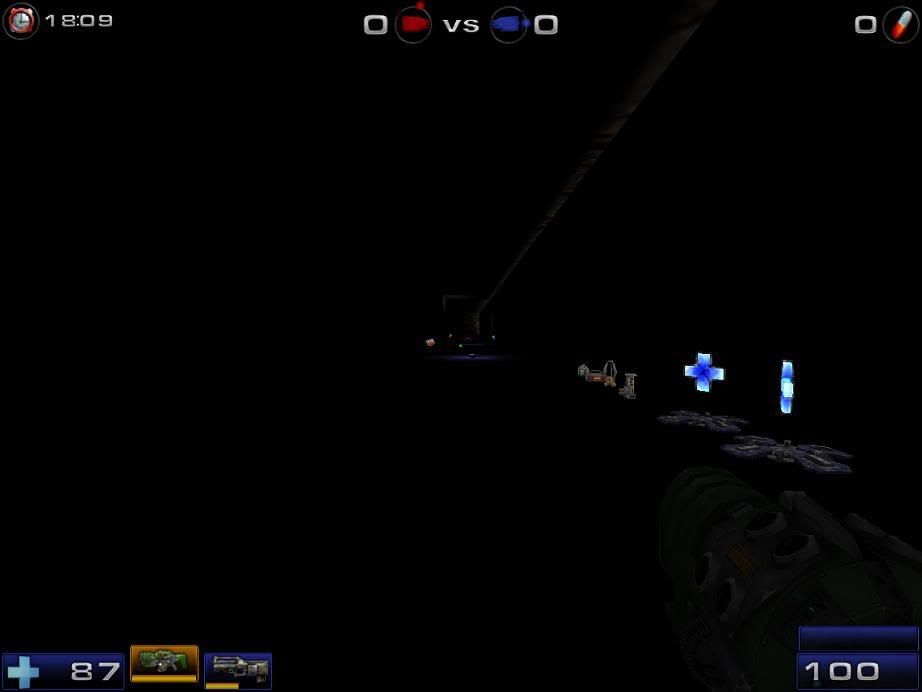
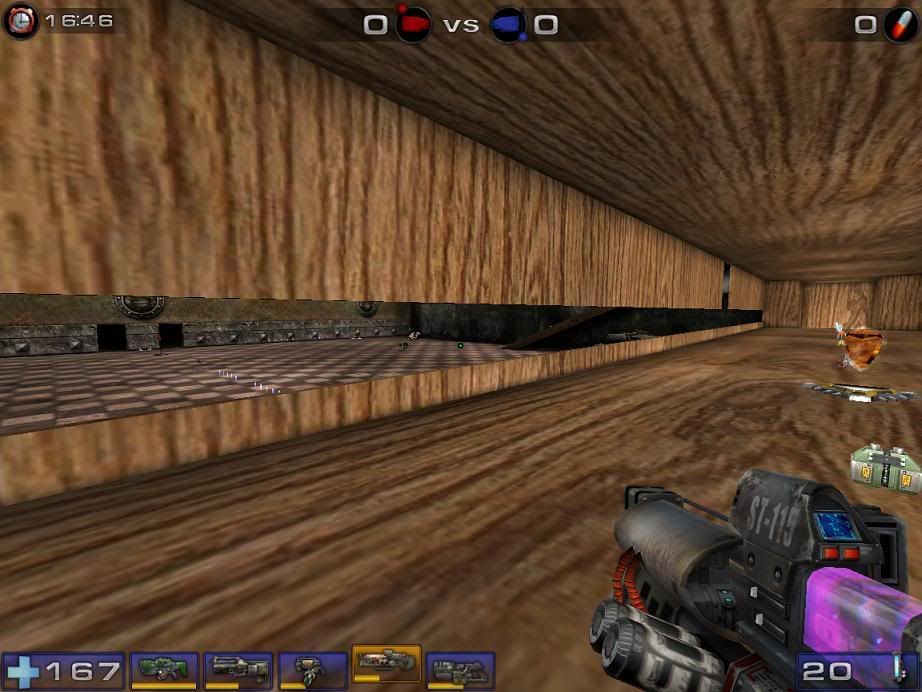
I originally was not going to add a redeemer to the map because the map doesn't need one, but then I thought of the idea to have the redeemer but make whoever grabs it die somehow for grabbing it, then whoever was around could pick up the redeemer. Then I remembered that a lot of people have the option to force weapon switch on pick up disabled (I do), so if they die after grabbing the redeemer, the redeemer wouldn't even drop because they didn't have it equipped. Instead I just made the redeemer very hard to reach, with some practice anyone can get to it, though. The redeemer is in the dark hall on a rail hidden in the darkness. You can get to it by either using the jump pad to dodge off the wall to land on a hidden rail on the outside wall just under the top walkway, or jumping off the top walkway and dodging to a hidden rail or jumping from rail to rail using the enter/jump manta trick to make the manta jump higher than usual, then ejecting from the manta to grab the redeemer. There are three hidden rails. The highest and lowest rails are on the outside wall and the middle rail, which contains the redeemer, is on the inside wall.
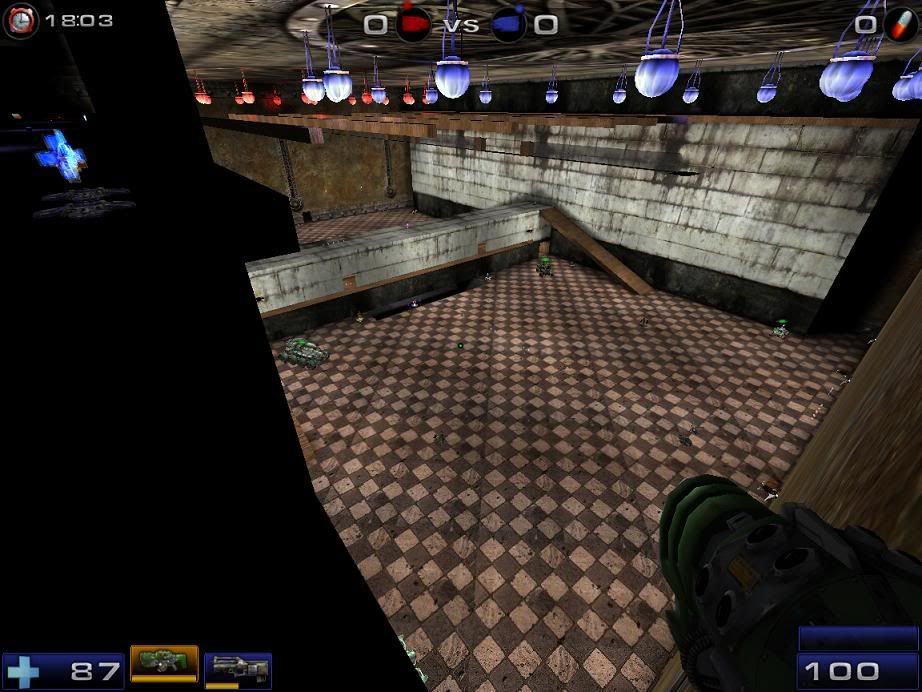
These jump pads are my favorite jump pads. I took them from an ONS map from the CBP2 pack called Yorda, a very visually stunning map, in my opinion.